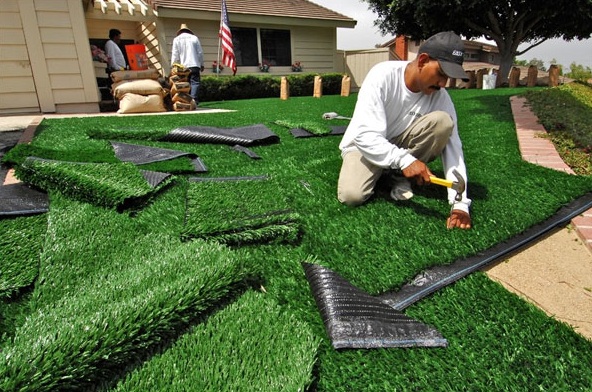
Synthetic grass has seen rise in popularity in recent years due to an easy keep up and year-round vibrancy. Synthetic Grass Installation is though easy yet requires some experience for that perfect outlook.
We, at Nice Backyard, offer synthetic grass in different textures and shapes for all budgets. and can be fitted to any design. Whether you opt for DIY or go with professional synthetic grass installation, in both cases same instructions have to followed as listed below:
How to do Synthetic Grass Installation
- Removal of the existing grass: A sod cutter can be used for the purpose as they cut evenly across the lawn.
- Excavation and installing bender board border: Excavate the area up to 2 inches and install bender board for edging the area, if required. Bender board should be ¾ inches below the surface.
- Preparation of Subsoil layer: Add gravel to the area about a quarter inch above the bender board and higher in the middle. Rake out the low spot, wet the area and level the area by using vibrating plating compactor.
- Add a weed mat: Weed mat is added to prevent the growth of weeds. Weed mat can be cut into shape by a utility knife.
- Install the synthetic grass: Add sand followed by a shock absorbent material and install the synthetic grass. Seaming is done width wise by bringing the synthetic grass together and once the spacing is done right, Layout the seaming tape and spread glue over it.
- Infill: Fasten the turf using nails and apply the infill. It keeps the blade of the grass upright and gives the synthetic grass more realistic look.
Although the installation seems easy yet it is a little tricky and we highly recommend using professional services when it comes to Synthetic Grass Installation. Get in touch with us today for quotation for synthetic grass and its installation.
Please click this link to see our Synthetic Grass Products: https://nicebackyard.com/nice/product-category/synthetic-grass/
