NOTE:
Before installing the turf, you’ll need a base consisting of 2 – 3 inches of compacted and level decomposed granite or a quarter of minus road base. You will be also needing a typical Infill to help the grass blades to stand up. You will also need a turf rake / Power broom to brush the infill down into the turf.
You need to plan it all out on paper. Draw up a simple sketch of the area to be covered and measure it out. (The turf can be cut to length, so determine the best layout using your sketch to keep waste to a minimum).
Move it to an area that has an enough room to it out, preferably in the sun. (It needs to be warmed up and expand before you install it.)
REMEMBER:
- You also need to trim the ends of each piece where they will be seamed together in a way that mimics the stitching pattern on the back of the material
- When moving the turf to the job area roll them up and carry them to the site rather than dragging them. Dragging can damage the turf and lead to problems down the line.
STEPS:
- Roll your sections out per your plan and line up your seams.
- Once everything is in place you can rough cut the excess turf around the edges. (Leave about 4 inches from where you’ll make your final cut, which will happen after you’ve completed your seams.
- Fold back one side of the turf and slip your seam tape underneath the opposite side.
- Align the tape so that it divides the seam as evenly as possible.
- Mark a line down the center. (This will help guide your application, preventing the glue from being forced up through the seam and into the blades.
- Fold back both sides of the turf so that the tape is fully exposed.
- Using an S pattern, apply the glue down one side of your marked line keeping the glue about the quarter of an inch from the seam.
- Do the same for the opposite side.
- To activate the glue, you will need to mist it with water using the spray bottle. Just enough dampen it will do. (Applying too much water can limit the effectiveness of the glue)
- The Glue will set within 15 minutes after misting, so you want to join the two sides immediately.
- Start at one end and carefully fold the two sides together. (Try to keep the blades from being folded under or caught in between the seam.)
- Once both sides have been secured to the seam tape apply pressure to the seam with your feet or use a weighted roller commonly used in vinyl flooring installation.
- Once the seam is complete, you can make your final cuts around the perimeter. (Use the quality utility knife and replace the blades often)
- Before you make cuts around the corners make structurally cuts in the fabric from the backside. (Doing it will make it easier to make the final precision cut, especially when you’re cutting to a curb, pavers, or other surface.)
- After finishing all your final cuts, you’ll need to nail down the perimeter edge of the turf using the 6-inch steel nails.
- When you part the blades, you’ll see gaps in the pattern. This is where you place the nail. (You can also use another nail to help you spread the blades apart and prevent them from getting caught under the nail head.)
- Apply your infill. Using a drop spreader will help distribute the materials evenly.
- Once your infill is down brush it in using a power broom. (Continue to brush it in until you can no longer see the infill on top of the turf)
- And the final step is applying water to the entire turf area, so the infill settles down in between the blades.
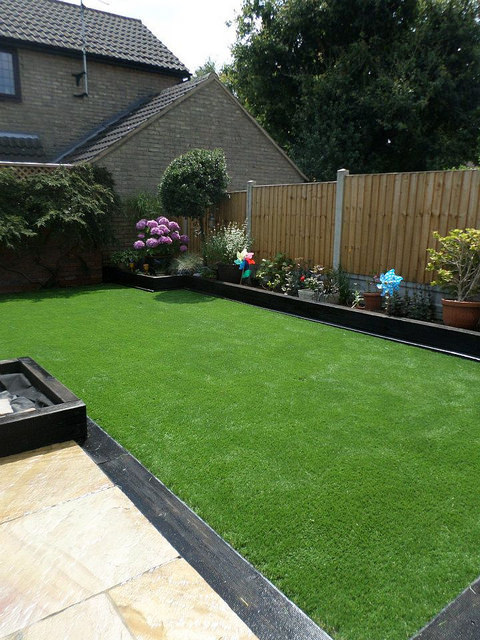
AND YOU HAVE YOUR SYNTHETIC GRASS ?
Please click this link to see our Synthetic Grass Products: https://nicebackyard.com/nice/product-category/synthetic-grass/
