(03) 9402 6483
Call us today!
My Account
Manage orders
Call us today!
Manage orders
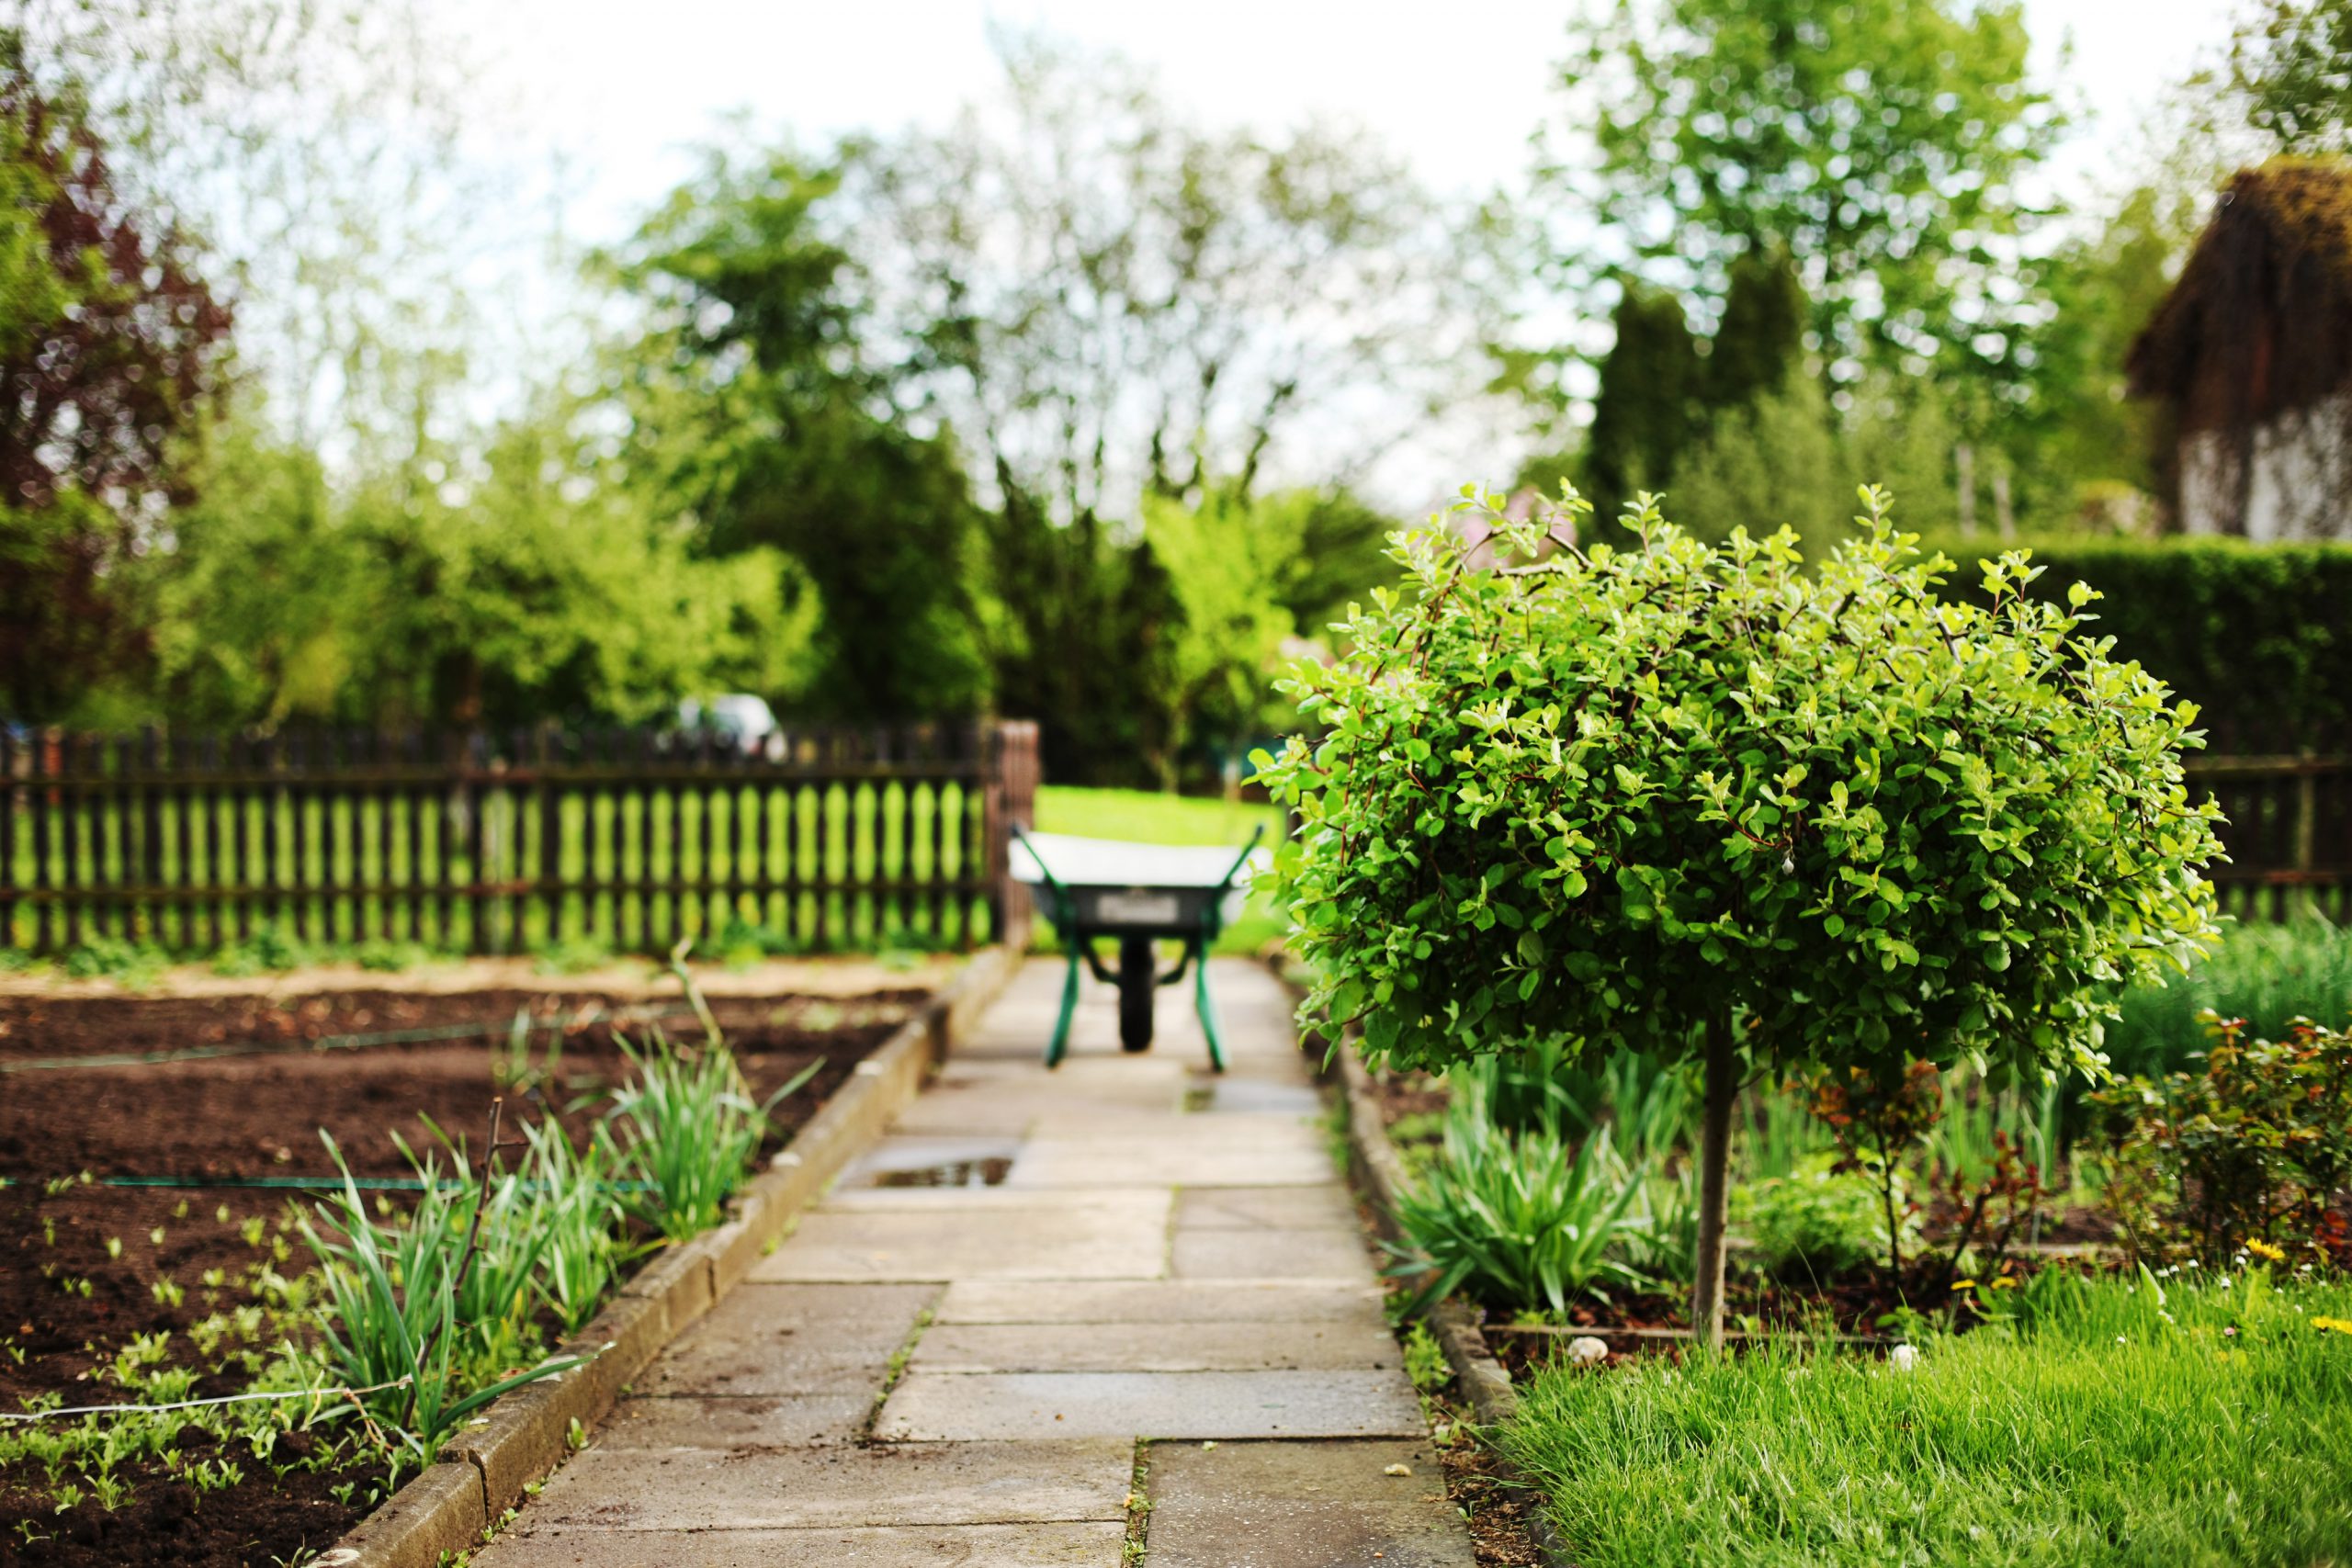
If your garden needs a boost, perhaps it’s time to rethink your edges. Installing new edging is one of the easiest and fastest way to improve the overall appearance of your garden. Whether you want to dress up a swath of perennials, draw attention to a bench in the distance, or simply keep gravel in bounds, freshening up your edges often does the trick. You can install some materials such as metal and bender board or you may try to install concrete and boulders to challenge you to learn some new skills. Edgings are not limited to what you might find at your local garden center. Sometimes the prettiest edging is simply a conventional material used in an unconventional way.
You can look at the following low-maintenance options that we have listed. For function alone, they will keep your garden neat and tidy by holding back soil, defining beds, blocking the relentless march of invasive roots, and preventing mulch from migrating. But their aesthetic value is perhaps their greatest asset, ranging from nearly invisible to command performers.
Pros – Adapts easily to angles and straight runs also hosts lichen and moss
Cons – Intermediate masonry skills required for creating curves
Installation Tip
– When setting a single row of bricks, no mortar is necessary; you can simply put the bricks together. Dig a shallow trench and fill it with a 1- to 2-inch-thick layer of sand. Bury horizontal bricks at least ½ inch deep and vertical bricks 2 to 3 inches deep. If you stack several rows of bricks, however, you will need mortar to hold the bricks in place.
Pros – Easy to source locally and pairs well with informal plantings
Cons – Time-consuming and tricky to imitate nature
Installation Tip
Pros – Long lasting and infinitely customizable with shapes, pigments, and surface patterns
Cons – Time-consuming and complex installation and relatively permanent
Installation Tip
Pros – Curves effortlessly, lightweight and easily cuts with a handsaw or coping saw
Cons – Hard to create straight lines, splices can separate over time and not widely available in stores
Installation Tip
Pros – Long lasting, subtle, accommodates straight runs and gentle curves
Cons – Requires a hacksaw to cut
Installation Tip
Pros – Inexpensive, easy to work with and rot-resistant wood
Cons – changes its color when exposed too much sunlight and causes crack and warp to the wood
Installation Tip
Here are few creative options that you can use for Garden Edging too:
Please click this link to see our Garden Edging & Accessories Products: https://nicebackyard.com/nice/product-category/accessories/
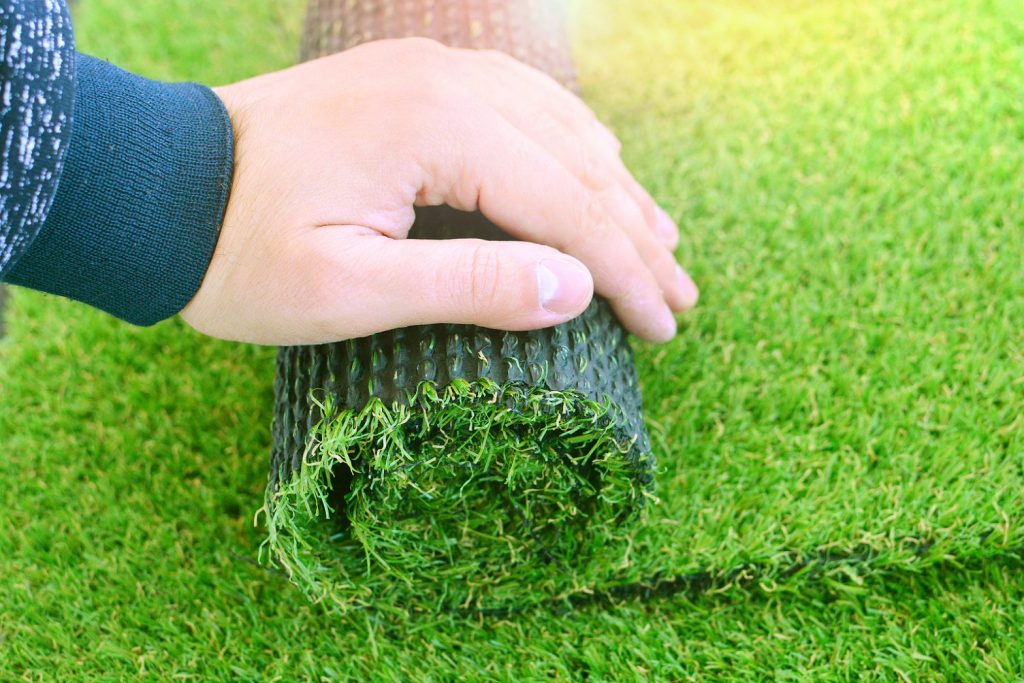
If you are seeking one of the most reputable brands of artificial synthetic grass for your home and garden, there are various options available to you. To ensure you select the ideal grass synthetic for your specific needs, it is crucial to adhere to certain guidelines and conduct thorough research. Research Before making a […]
Read More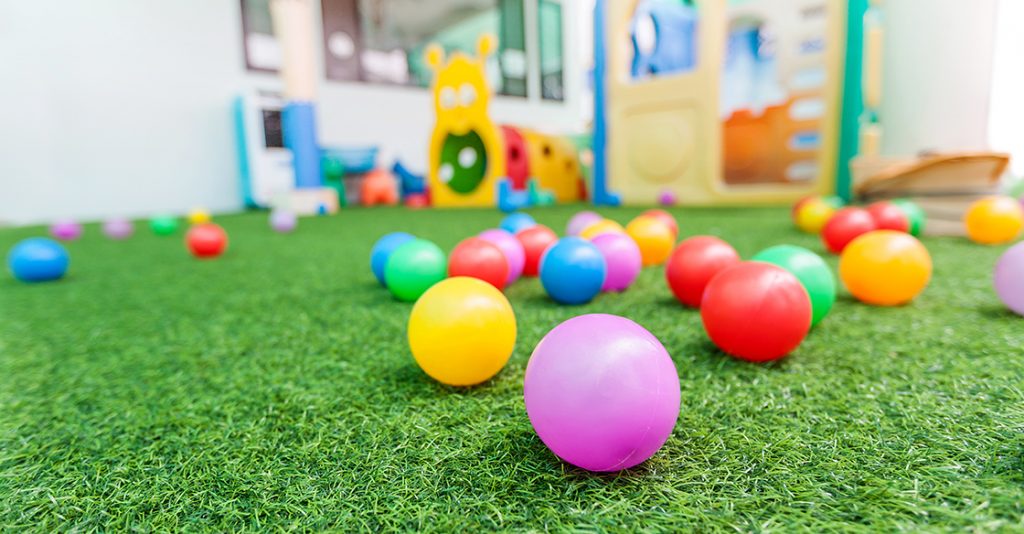
Whenever you plan a safe playground for your children, planning is paramount. In an area where children primarily spend time, safety and the durability of the ground are paramount concerns. Artificial turf grass is one of the most effective and simple solutions that will undoubtedly ensure the safety of children, including pets. Artificial turf […]
Read More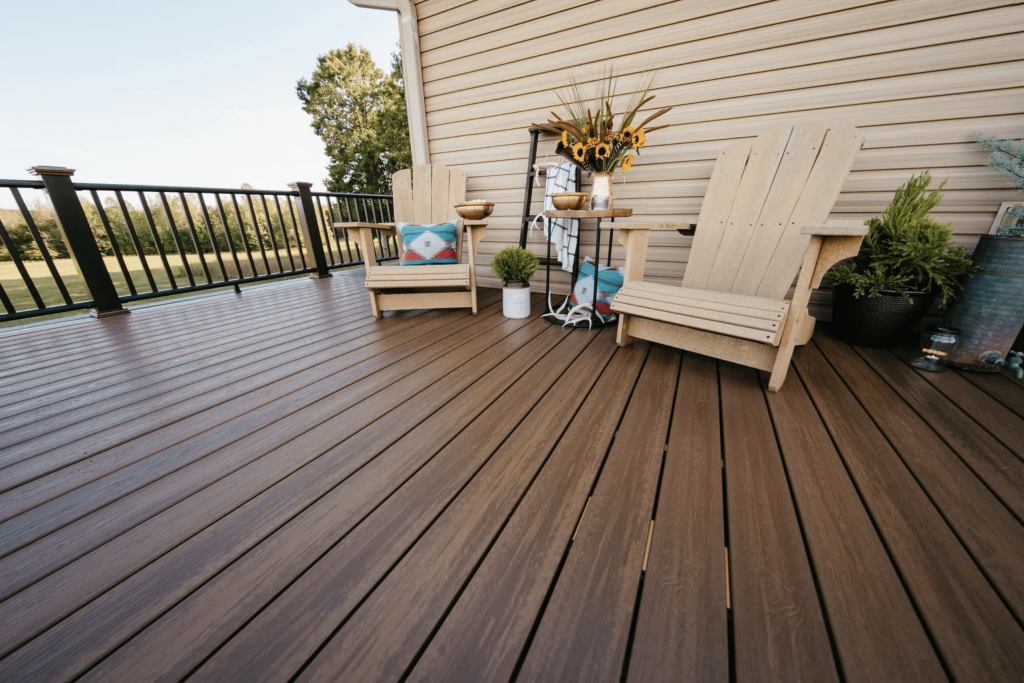
In recent years, the popularity of garden decks has surged, leading to the availability of a diverse range of materials for homeowners to select. When planning a new deck, many homeowners opt for hardwood decking boards. However, there are alternative options, such as composite decking, which is the preferred choice for both homeowners and […]
Read More