(03) 9402 6483
Call us today!
My Account
Manage orders
Call us today!
Manage orders
When installing Artificial Grass, the secret to its longevity is establishing a solid sub-base. This can involve a lot of work. However, with concrete, you may already have an excellent sub-base ready to install the artificial grass on to. This has two very important benefits: Firstly, the back-breaking groundworks are already complete (the most physical aspect of installing artificial grass is the groundworks stage). Typically, with a standard artificial grass installation, the existing grass must remove either by hand or by using a turf cutter. And secondly, not only will it save you work, but it’s also going to help you financially as well. Therefore, one of the major advantages of installing artificial grass on concrete is that its’s relatively quick and inexpensive to do.
We at Nice Backyard always advice using a professional to install artificial grass as sour experience will result in a better finish. However, it is reasonably quick and easy to install artificial grass on concrete and if you have some DIY ability, you should be able to carry out an installation yourself.
Here are our steps to help you along the way:
Prepare first the tools and materials that will be needed such as Stiff Broom, Garden Hose, Stanley Knife (along with lots of sharp blades), Filling knife or stripping knife (to spread artificial grass adhesive), Artificial Grass, Foam Underlay, Artificial Grass Glue and Joining Tape.
Step 1 – Clean Existing Concrete
You’ll need to prepare the existing concrete. In most cases a foam underlay will be all that’s needed to go under your grass. Before this is installed, we strongly recommend to thoroughly clean the concrete, so the artificial grass adhesive will properly bond with the concrete. It’s also a good idea to remove moss and weeds. If weeds are a problem with your existing concrete, we recommend applying a weed killer. Your concrete can be hosed and/or brushed with a stiff broom too. Once it’s clean, you’ll need to allow the concrete to completely dry before moving on to the next step.
Step 2 – Install Drainage Holes If Required
To assess how well water drains off it, cleaning your concrete or paving is also a good opportunity. If the water disappears without puddling, you can move onto the next step, if it doesn’t, you’ll need to drill drainage holes where the puddles form. This will ensure you won’t have standing water after a downpour.
Step 3 – Install Artificial Grass Foam Underlay
Once your concrete or paving has thoroughly dried, starting at one end of the concrete, and ensuring the foam goes right up to the edge, roll out the first piece of foam and cut to the required shape. You’ll find it easiest to cut all the foam and lay it into position before you begin to glue anything. Secure all the pieces of foam together, using masking tape. Once the foam has been cut to shape and taped up, you can begin the gluing process. Using a filling knife or stripping knife, apply the adhesive to the concrete or paving and if water will be draining off your concrete or paving, rather than through drainage holes, you’ll want to leave gaps in your gluing to allow water to escape. It’s very important that the concrete is completely dry when you do this, to ensure the adhesive bonds properly.
Step 4 – Cut Grass to Size and Prepare Joints
Roll out the first piece of artificial grass, ensuring it covers the foam. If you have joints, you’ll need to trim three stiches off the edge of each piece of grass, to form an invisible join. Remember, do all your cutting before you attempt to glue anything. Don’t attempt to glue the joints down directly to the foam, as each piece will move independently when you walk over the new lawn and this will make the joints visible and the easiest way to complete this step is to just glue the joints at this stage and then leave the glue to go off, before gluing the perimeter.
Step 5 – Secure the Perimeter with
Now that any joints have been secured, you’ll be able to fold back the grass at the edges and apply a layer of glue to the entire lawn perimeter. Ensure that the glue runs continuously along every part of the perimeter, without leaving any gaps. These gaps will be potential weaknesses where it may be possible to lift the grass. To ensure the grass and foam bond sufficiently, it’s advisable to stay off the grass for the next couple of hours, to prevent the fake grass from moving around underfoot.
Step 6 – Add Silica Sand and Brush your Grass
To finish, we recommend adding a sand infill this will help dissipate heat and prevent the artificial fibers from becoming hot. Once the sand infill has been installed, you can then brush the grass with a stiff broom. Every artificial grass has a very slight pile direction and this step should be done by brushing into the pile, which will lift the fibers.
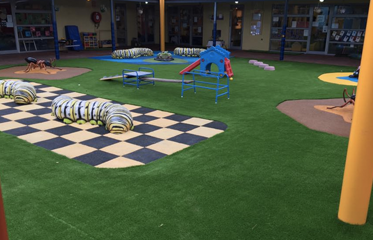
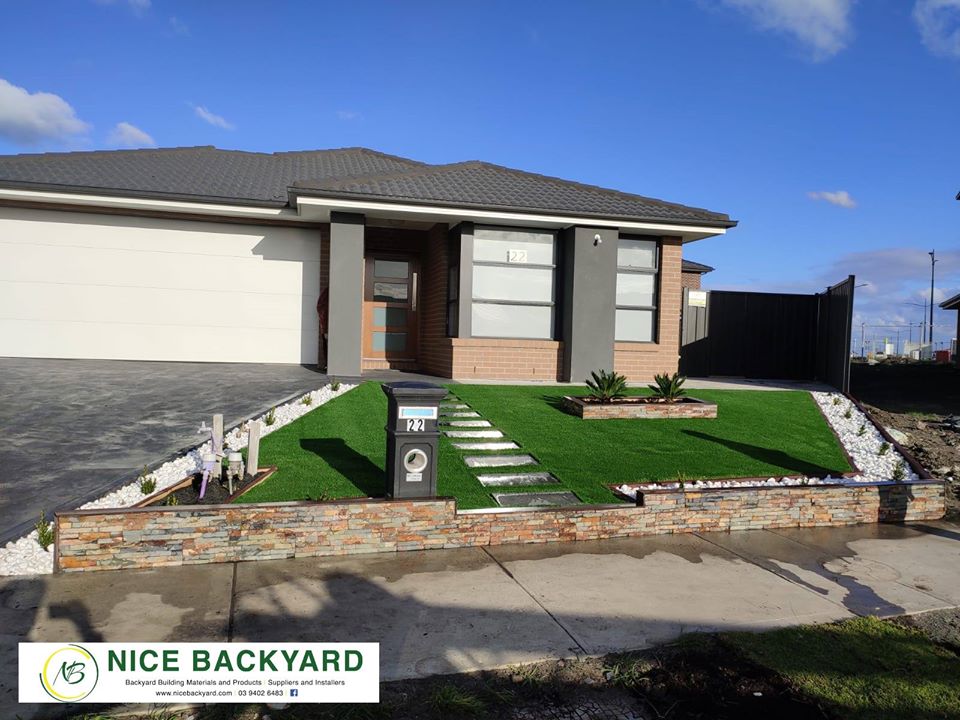
Now you can enjoy and admire the result of your newly Synthetic Grass lawn.
Please click this link to see our Synthetic Grass Products: https://nicebackyard.com/nice/product-category/synthetic-grass/