(03) 9402 6483
Call us today!
My Account
Manage orders
Call us today!
Manage orders
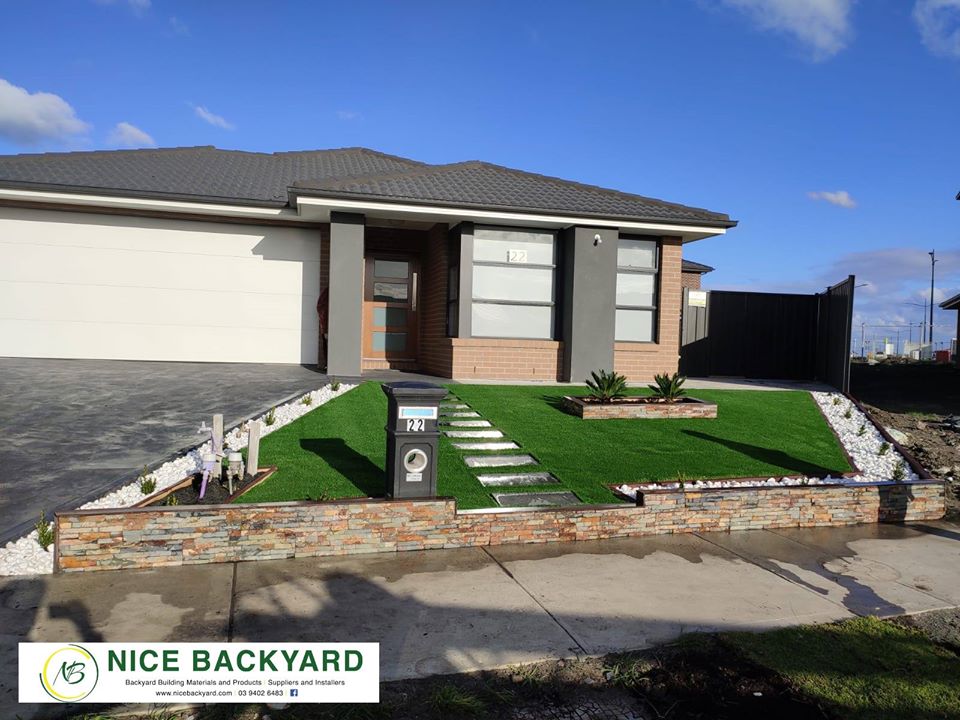
Stack stones is a unique three-dimensional veneer composed of cut stone pieces. These come attached to a backing and are installed in modules like tile. You can find these panels in most garden supply such as in Nice Backyard and tile showrooms. Stacked Stone is often used in landscaping, around the pools and other water features, and on the front of buildings. In installing Stack Stones, you don’t need any professional building or construction knowledge to do it. You can use Stack Stones in variety of needs also, you can be more creative to make a unique and amazing outcome out of it. You can even do it in DIY but if you are concern or not sure to do a DIY in stacking stones we at Nice Backyard got your back as we deliver Australia wide, supply and install it for you.
Here are some steps that you can follow on How to Install Stack Stones:
What you’ll need:
Step 1 – Estimating the Amount of Veneer needed
First, measure the length and breadth of the surface where you will be installing the stacked stone. Next, depending on the dimension of a single veneer stone, estimate the number of stones you will need for your project. For the corners, measure the linear distance of the edge and divide it by the length of breadth of the veneer stone to get an appropriate estimate. Then, purchase the total number of stones that you have estimated.
Step 2 – Preparing the Surface
Prepare the surface where you will install the faux stone. Using a waterproof paper, cover the area. Then, cover the paper completely with metal lath.
Covering Metal Lath
Cover the metal lath with scratch-coat mortar. This layer should be 4-8 inches thick. Scratch the plaster with a hand rake while wet to create a better grip for the stacked veneer to adhere to. Let it dry for 48 hours.
Step 3 – Laying the Stacked Veneer
To make it easier to install, lay the stone pieces in your work area. Brush the backside of the stones to remove any dirt or debris. Arrange them according to the design you want and move on to the next step.
Step 4 – Fixing the Stacked Veneers
Apply a layer of mortar on the center of the veneer and then using a trowel, trapper it toward the edges. The layer should be 3-4 inches deep, as anything more than this will make the veneer slip and slide. Use tile adhesive for a longer-lasting bond
Step 5 – Setting the Veneer
Now, fix each veneer according to your planned design. Starting from the bottom, hold the veneer in place and press it down with uniform pressure.
Using more Mortar
Use a paintbrush to put mortar in the joints. Clean the excess mortar using a wire brush or scraper. For the corners, use a grinder to cut the veneer to fit it. If your stacked-stone veneer ever chips or breaks, you can repair it with many of the same tools.
With all this step you can now install Stack Stones on your own or with the help from Nice Backyard which you can call and visit anytime.
Please click this link to see our Stack Stone Products & Polished Pebbles Products: https://nicebackyard.com/nice/product-category/pebbles/